Kirby

Hi all! I am now updating Saturday morning instead of Thursday morning. Gives me Friday night to chill and write my blog posts. As for what I’ve been doing, I’ve been adding a whole bunch of Facebook options to my site these past few days, and also Amazon store links. I think it looks quite nice, and I’ll continue doing more of that as I go along.

I also just finished writing my short story for the Bento comics anthology, titled . The anthology has a Peter Pan theme, and the Pickwicks are the neighbours of Wendy Darling and her family. The story isn’t due until March 15th, in time for release at TCAF, a comics convention in Toronto held on May 5-6th each year, so you may not see it in print until then. It’s just as well – I’m trying something new with this story, so you’ll all see it online sometime after the 15th March.

Today, I get to show you something Nintendo-related I crocheted a while ago – Kirby.

 
Kirby


The star of his own Nintendo games, this Kirby is from a free pattern at iceblueberries’ blog, and I added 8mm safety eyes to him instead of crocheting the eyes. Amazingly, this seemed to suit Kirby a great deal, and he looks a dead ringer for the “real” McCoy!
 

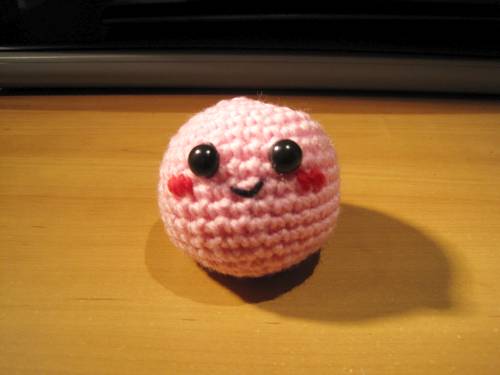
Kirby1

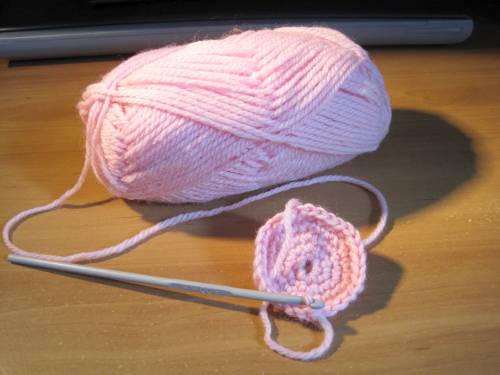
Step 1: Crochet Kirby's body. This is only 30 stitches at its widest point, so it was done in no time.

 
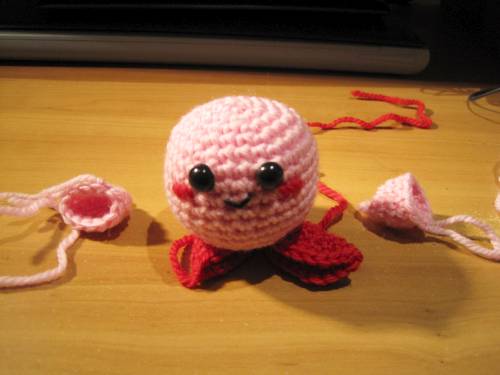
Kirby2

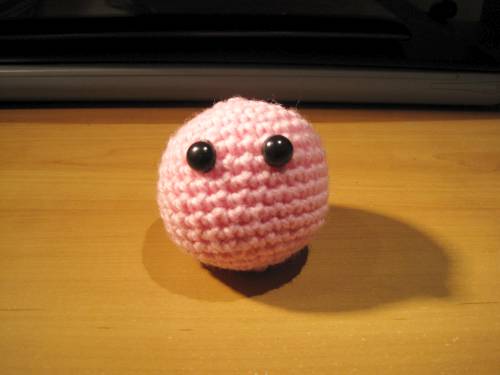
Step 2: Added 8mm safety eyes, instead of crocheting the eyes. The eyes were a perfect fit for this size!


Kirby3

Step 3: Sew his little mouth, and give him rosy red cheeks!


Kirby4

Step 4: Crochet his hands and feet, and sew them onto his body. Straight-forward.

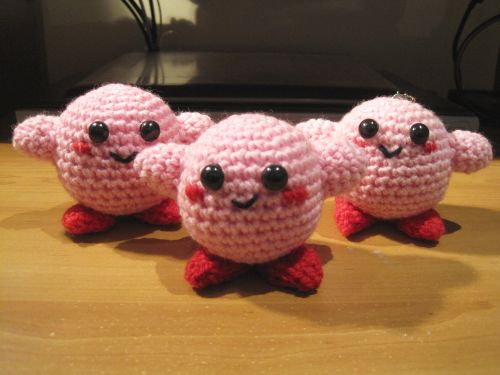
And here we have, THREE Kirbys…
 
threekirbys

Shark Chewing on an Aussie Surfer

This week I’m halfway through the tones of Small Shen, and also adjusted the release date of House of Odd to March 20, 2012, which is the date it comes out on Amazon. It now even has a Kindle edition (on Amazon).

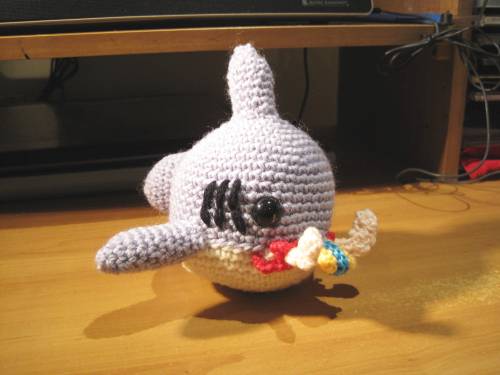
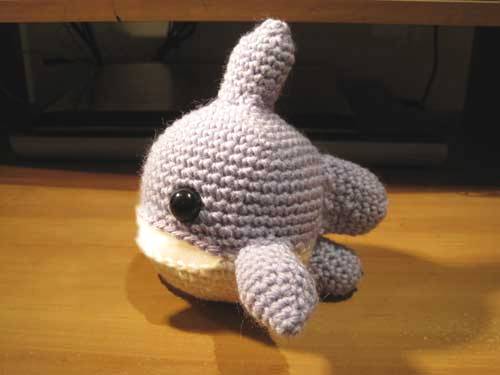
In other news, I get to show you my Shark amigurumi, shown here chewing happily on some unlucky Australian surfer (with tasteful amounts of blood).

 
Shark
 

This pattern is originally from here, and I altered the original to make the shark a bit bigger. So it can fit a surfboard and surfer in its mouth, ofcourse!


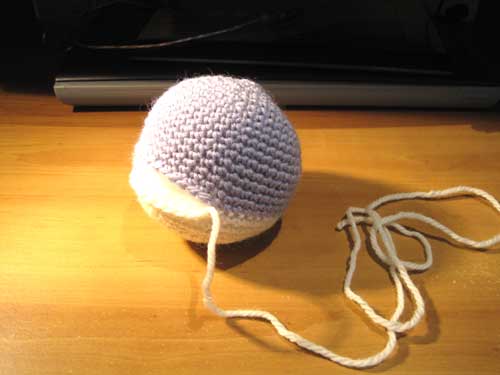
Shark 1

Step 1: Crochet the top half of the shark in grey, as with all amigurumi


Shark 2

Step 2: Crochet the bottom half of the shark in white, then sew the 2 hemispheres together, leaving a space for the mouth.


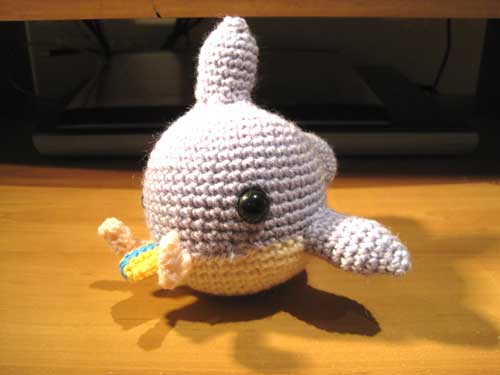
Shark 3

Step 3: Crochet the fins and tail, and sew it onto the shark. I used size 14mm safety eyes (huge).


Shark 4

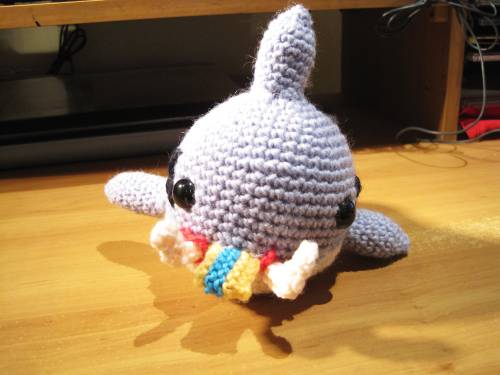
Step 4: Crochet the legs and surfboard, then stick them in the shark's mouth while sewing the shark's mouth together. Due to the stuffing inside, this took a while


And here we have the final Shark, from a few more angles to capture the bloody moment:

 
Shark Side
 
Shark Front

Twisted Tales: Dorothy (Teaser Trailer)

I’ve talked about Twisted Tales before, a collaboration between my musician friend Yunyu and myself. After a long wait, the first single to “Twisted Tales“, will be released in February 2012.


Ah… here we be.


So I proudly present to you the trailer for the first single off the new album project Twisted TalesDorothy. It’s a subversive take on the tale of Wizard of Oz, where Dorothy discovers that her magic shoes will no longer return her home, as she is a cosmonaut lost in space in this story.

Twisted Tales is an international collaboration between Yunyu, myself ( flying my New York Times #1 bestseller Manga Artist flag) and awesome animation collective The Commonist.

It is an exciting Music, Manga and Animation album that asks the question of what happens when Fairy Tales come to live in our modern universe.


The music video for Dorothy will be released at the end of this month. My own art contribution to the single will also be online in a few week’s time. Meanwhile, enjoy the Dorothy Teaser Trailer!


Fruit Custard Tart

It’s nearing Christmas, so I wish you all a very Merry Christmas and a Happy New Year! I’ll be working all through the holidays until I finish the inks for chapter 2 of Small Shen, which will probably be next week.

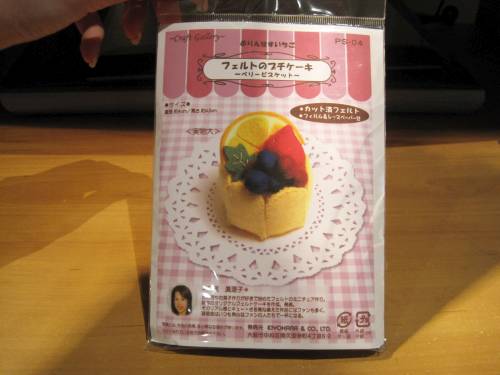
So this week, I leave you with the last of my felt cakes – the last one I had in the line of kits I bought. It’s the Fruit Custard Tart!


Fruit Custard Tart 1

Step 1: Here's the last kit I had in the series for felt cakes. I think this was meant to be a mobile phone charm.


Fruit Custard Tart 2

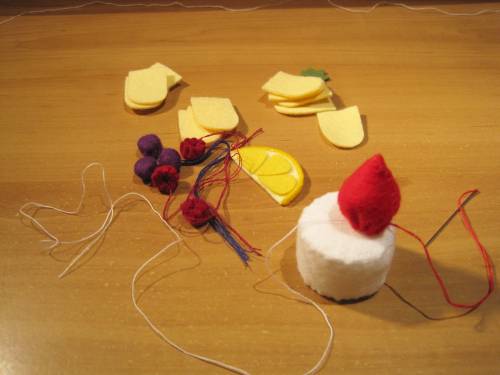
Step 2: Take everything out, check that it's all there. Usually I have no complaints with Japanese kits.


Fruit Custard Tart 3

Step 3: Sew the base and the strawberry on top. Make all the little berries.


Fruit Custard Tart 4

Step 4: Add the berries onto the top of the base, then start sewing the custard bits together to surround the base.


This is the end result. Pretty complex compared to some of the other felt cakes:


Fruit Custard Tart