Felt Cookies

This week I finished toning chapter 4 of Small Shen, so the book is officially two-thirds done! I’m taking a few days off, before I get to work on the last third of the book. In other news, a few weeks ago, I did an interview with IGotSuperpowers.com at Adelaide Comic-Con, and it’s now up online, thanks to Nathan.

This week I get to show you… felted cookie magnets. It’s from a kit I bought from a Japanese shopping site, and there’s 4 separate kits in the series. I bought them all, but can’t say there’s a lot of variation between the different cookies. They’re magnets though, so if you’re looking for stuff to stick to your fridge…


cookies1

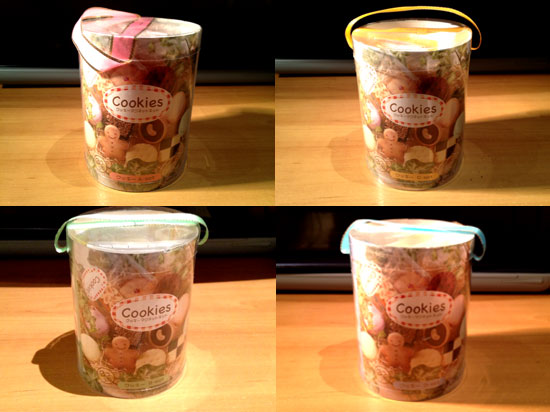
Step 1: The boxes. Aren't they cute? Great packaging!


cookies2

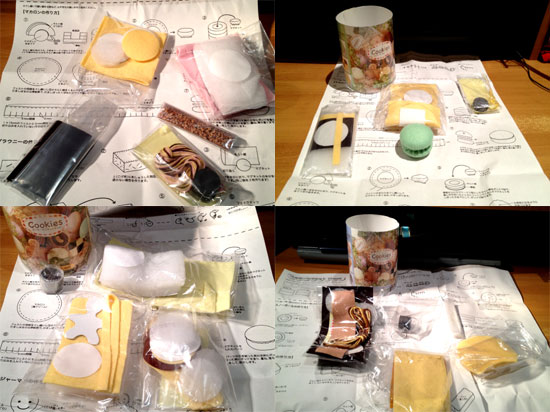
Step 2: Open everything up, and check that it's there. Usually it is.


cookies3

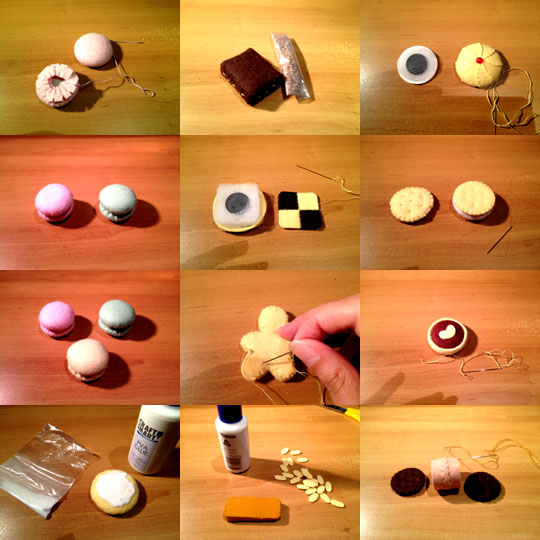
Step 3: None of these are particularly complicated to sew, but here they all are, all at once!


Here’s the final 12 cookie-magnets:
 
cookies

Fruit Custard Tart

It’s nearing Christmas, so I wish you all a very Merry Christmas and a Happy New Year! I’ll be working all through the holidays until I finish the inks for chapter 2 of Small Shen, which will probably be next week.

So this week, I leave you with the last of my felt cakes – the last one I had in the line of kits I bought. It’s the Fruit Custard Tart!


Fruit Custard Tart 1

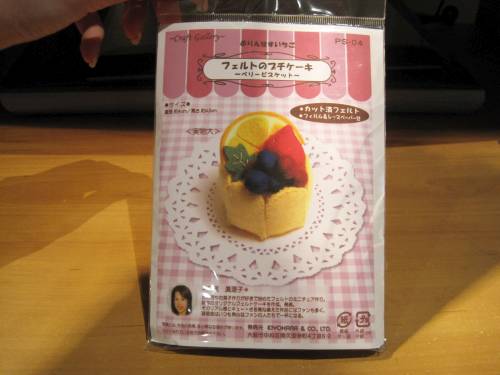
Step 1: Here's the last kit I had in the series for felt cakes. I think this was meant to be a mobile phone charm.


Fruit Custard Tart 2

Step 2: Take everything out, check that it's all there. Usually I have no complaints with Japanese kits.


Fruit Custard Tart 3

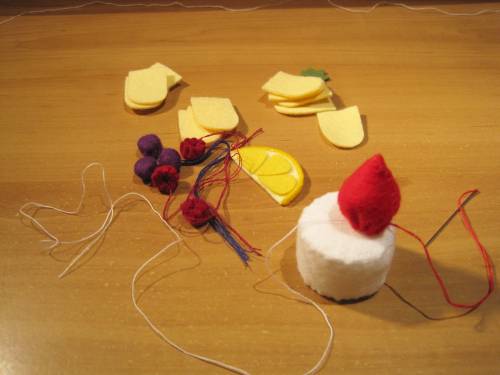
Step 3: Sew the base and the strawberry on top. Make all the little berries.


Fruit Custard Tart 4

Step 4: Add the berries onto the top of the base, then start sewing the custard bits together to surround the base.


This is the end result. Pretty complex compared to some of the other felt cakes:


Fruit Custard Tart

Creamy Green Tea Roll

I should be in New York by now, attending NYCC. I’ll be hanging by the BentoComics table mostly! I’ll be back in Sydney at the end of October!


Green Tea Roll

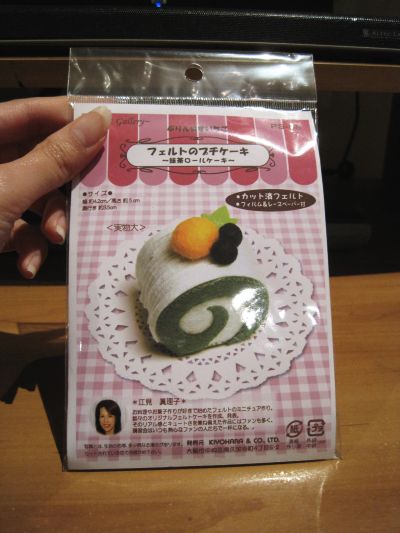
Step 1: The second last of these Japanese kits I bought, this green tea roll cake appear to have an extra slopping of cream on top. Why not?


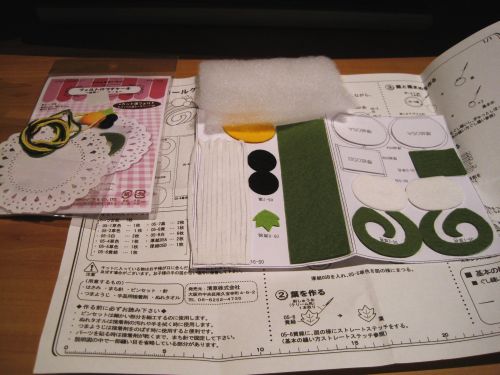
Green Tea Roll 2

Step 2: Hurray for pre-cut felt! This kit especially, because of the "cream" bits that are long and straight.


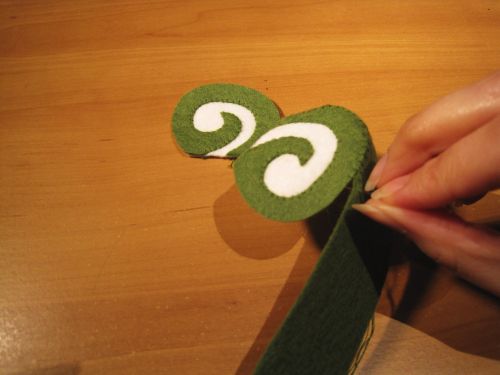
Green Tea Roll 3

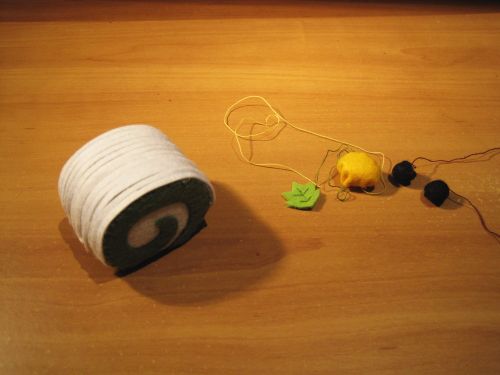
Step 3: Sew the roll cake together. Thank god for the pre-cut pieces - cutting spirals are always a horrible chore.


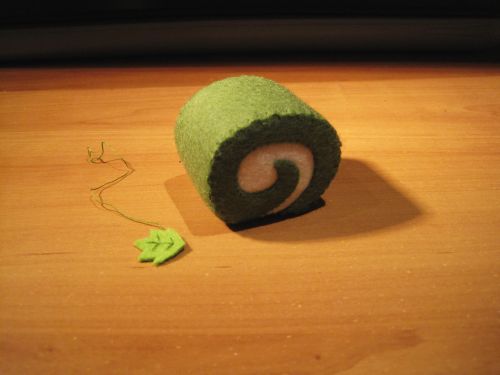
Green Tea Roll 4

Step 4: Finished with the roll cake. Start with the little bits and pieces that go on top of the roll cake.


Green Tea Roll 5

Step 5: Glue the cream bits on, and what a mess I made of the glue (again). It's not glued on very well, so a few of the cream bits can fall off. Am hoping that by sewing the top bits on, it'll help keep the cream bits on the roll cake.


Quite small, but ends up looking pretty cute:


Creamy Green Tea Roll

Three Russian Dolls

Russian Dolls

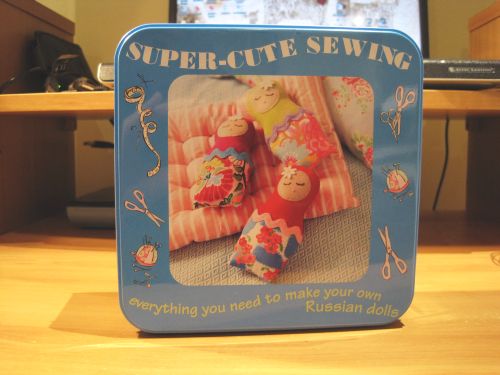
Step 1: For once, this isn't Japanese. It seems to be from a British company, and it even comes with a nice tin box. For the inexplicably cheap price of $14 at Townhall's Kinokuniya. I snapped it up, ofcourse.


Russian Dolls 2

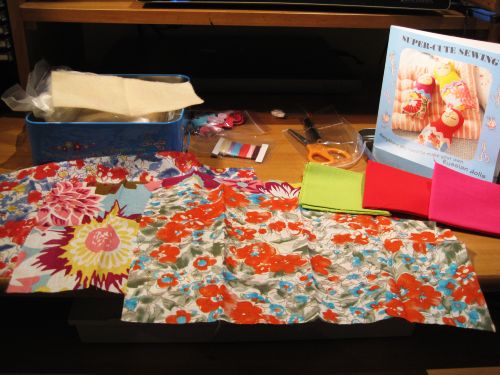
Step 2: Open the contents, and just enough material is there to make three of the dolls. The design of the dolls is quite simple too.


Russian Dolls 3

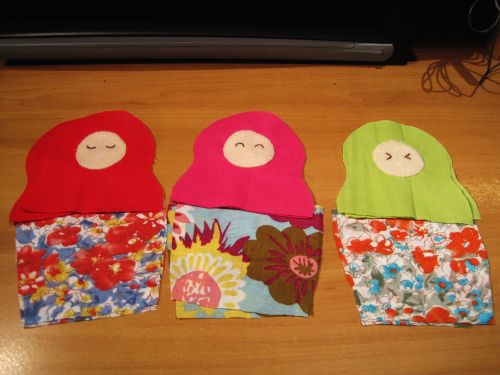
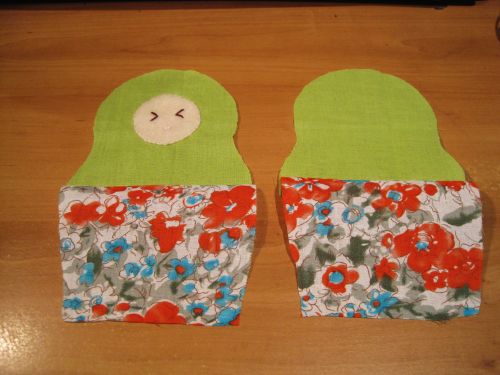
Step 3: Cut out all the materials, and mix and match the hoods with the colourful bottom parts. I decided on this combination.


Russian Dolls 4

Step 4: Sew the faces on, and the top and bottom halves together. It's time to sew both of the front and back parts to make the doll.


Russian Dolls 5

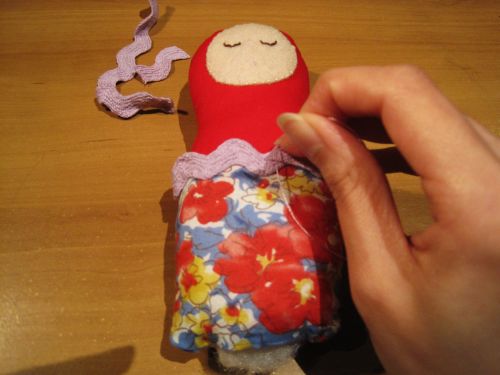
Step 5: Stuff the dolls with stuffing, and then sew the wavy elastic band around them for a finishing touch. I added a few more things to it than was given in the kit.


I decided to gift the dolls to three couples I know, so I embroidered some names on them. Good use of cute dollies! Yay to Claire and Pedro, Ben and Nam, and Kath and Paul:


Russian Dolls