Cat Clock

I’ve finished ALL the inks of “House of Odd”, the third Odd Thomas book, and I have been doing happy jigs all week! The book still needs to be toned by Dee (wonderful toner), so it’s not all finished, but I’m estimating that the whole thing will be done by the end of September. I’ll do a post about it when the time comes for the actual release, which will probably be in April 2012. For now, I shall celebrate!!

In other news, I’m heading off to the Brisbane Writer’s Festival next week, held on the 6th-7th September. I’m mostly going because I’ve never been to a Writer’s Festival before, and it would be fun to see what it would be like. It’s also because Yunyu’s going to be there with writer Marianne De Pierres, to promote their collaboration on Marianne’s book Burn Bright.

So, this week I get to show you my felt clock. My felt Cat Clock, which I made for my niece. Once again, this was made from a kit, but it was simple enough.


catclock1

Step 1: This is a Korean kit I bought at Morning Glory for about $10. I can't read Korean, but luckily the instructions were in pictures and not that difficult to decipher.


catclock2

Step 2: I check that everything's there, which it is.


catclock3

Step 3: I cut out the paper shapes and trace them onto the felt. This kit seems to have skimped on the felt a bit... I've not had a kit where you had to be so careful about where you draw the outlines on the felt. I had almost ZERO felt leftover. Phew.


catclock4

Step 4: Putting it all together, to make sure I cut the felt right. Yep, it seems okay.


catclock5

Step 5: I sew the front of the face on, and puncture a hole so the clock can point through (where I put the hands of the clock on). I also sew on red buttons to represent the time.


catclock6

Step 6: The back of the cat clock, where I put the cardboard box that holds the clock. I stuff it and sew on the back flap.


catclock7

Step 7: I cut a small flap in the back for the battery, so it can be replaced. This wasn't included in the instructions, but it seems like commonsense. How else can you replace the batteries, if it's all sewed up? I also added a button to "tie" it down, so it looks better.


And now, for the final clock, face and all:


Cat Clock

Three Slices o’ Strawberry

I’m close to the end of “House of Odd”, and the tones for part 2 is all done. But before that day arrives, I’ll be showing another one of my little arts-and-crafts, a strawberry cream cake (strawberries appear to be super popular in the world of felt cakes).


3strawberry1

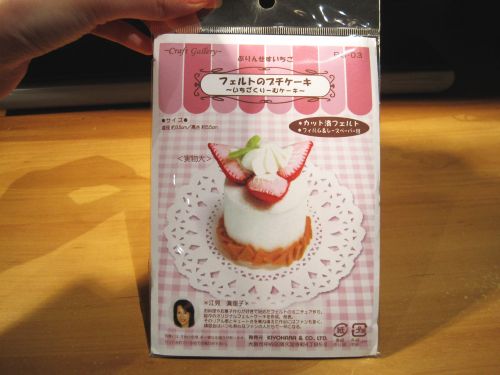
Step 1: Again, bought off Rakuten.co.jp. It's one in a series of similar kits.


3strawberry2

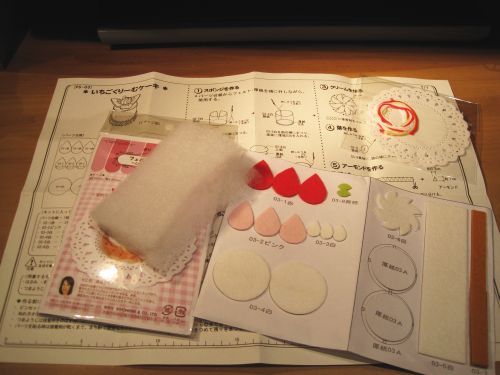
Step 2: Check that everything's there. With Japanese kits, they usually are. Pre-cut pieces too, which saves a lot of time.


3strawberry3

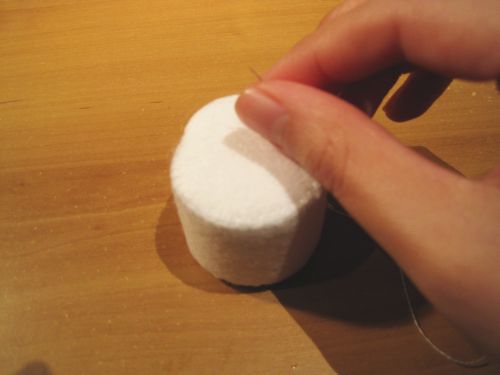
Step 3: Sew the base up, which in this case, is a teeny weeny little cylinder.


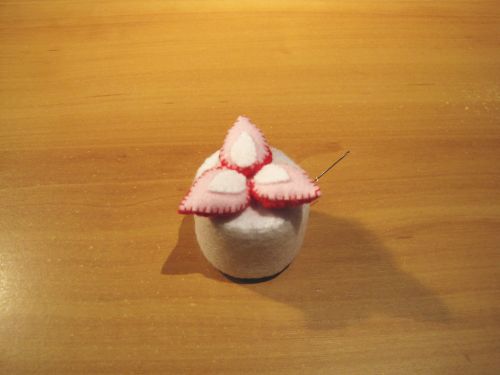
3strawberry4

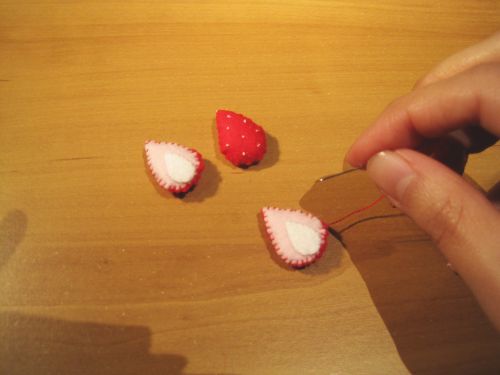
Step 4: Sew up the little half-strawberry pieces. I've done this a lot on many similar projects... strawberries are the most common things I get to sew in relation to felt cakes.


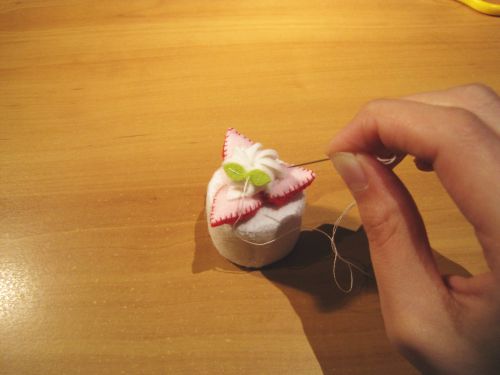
3strawberry5

Step 5: Sew the strawberries onto the cylindrical base. Getting them located right is the hard part, but I manage.


3strawberry6

Step 6: Sew the little swab of cream and mint leaves onto the top.


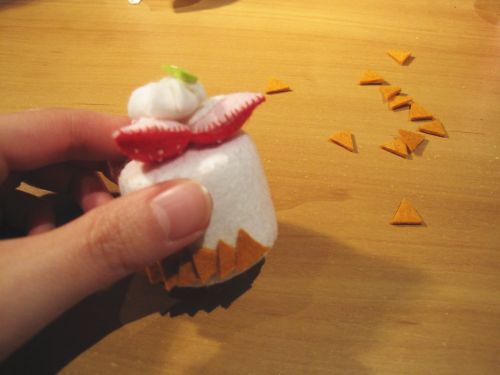
3strawberry7

Step 7: Chop up the last piece of felt, and then glue the little triangular chestnut pieces onto the botton of the cake. Not as messy as I thought it would be.


Now, for the final product – little felt cake with three slices of strawberry:


3-Strawberry

Little Felt Lamb

SMASH!: Hi folks! I’ll be appearing at SMASH! Convention this Saturday (16th July) as a panellist on several panels. The first one is an industry panel where I’ll probably get to discuss the demise of TOKYOPOP, and if I have time I’ll be going onto the next 2 panels about Character Design and Sequential Art. So here are the details:

When: Saturday, 16th July

Where: Sydney Convention Center

What: Art Room Stage

Industry Panel – 11:00am
Create-A-Cast – 12:00pm
Sequential Panel – 2:00pm (Maybe)

See you all there! Tickets are $25 if registered, $30 at the door.


Felt Sheep: Here’s one more felt charm I made a while back – that of a little lamb. Since I’m such a sucker for cute felt sheep toys, and the kit was only $3.50, here’s some photos of the sewing of the lamb.


Making a Felt Sheep - Step 1
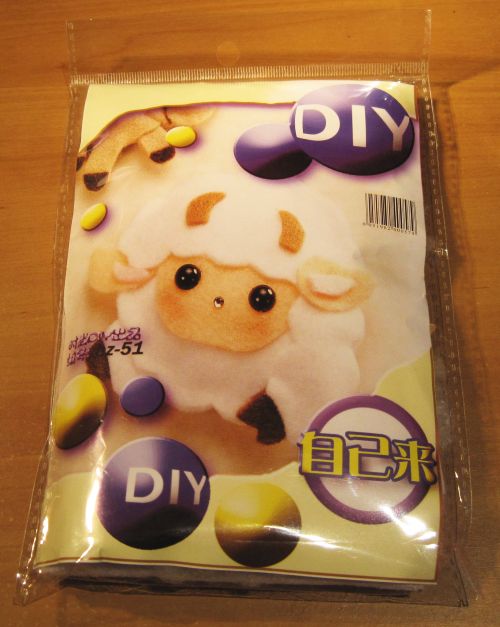
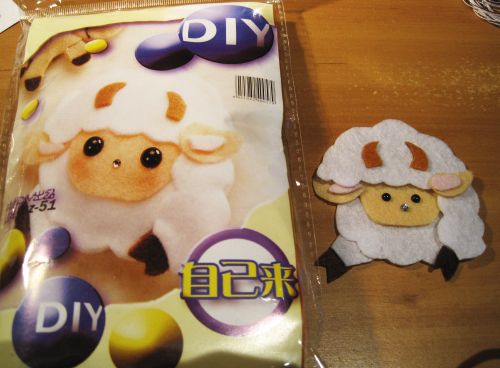
Step 1: Bought this kit on Chinatown for $3.50. It’s a Chinese kit.


Making a Felt Sheep - Step 2
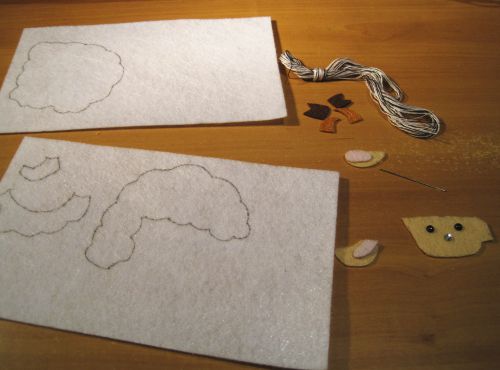
Step 2: Chinese kits rarely have pre-cut pieces, so here I get to cut out the paper cut-outs, trace them onto the felt, and cut them out on my own.


Making a Felt Sheep - Step 3
Step 3: Here’s me doing the tracing and cutting out of the felt pieces for form the lamb.


Making a Felt Sheep - Step 4
Step 4: This is what sometimes irk me about Chinese kits. What you get on the front cover may not be what you actually get inside the kit. Most of it’s there, but the photo on the packaging sure looks like a photoshop eye job. The real lamb has teeny tiny eyes. It happens, errgh.


Making a Felt Sheep - Step 5
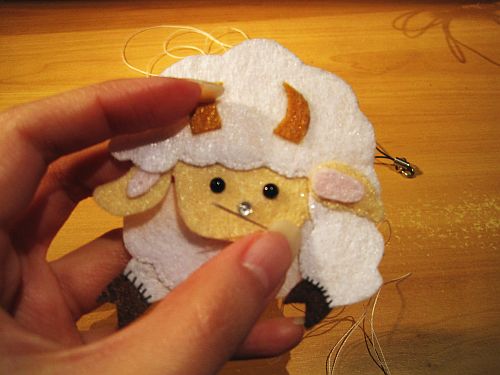
Step 5: Nevertheless, I glue the eyes and nose on, and sew the front part of the lamb together.


Making a Felt Sheep - Step 6
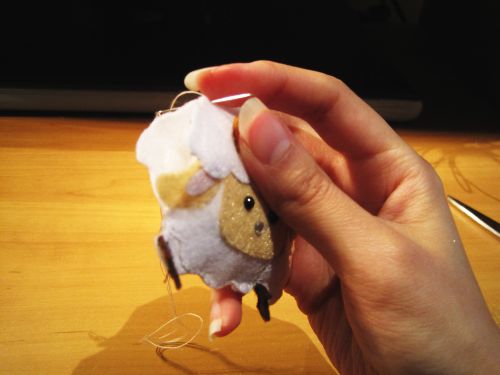
Step 6: Sewing the front and back together. I sewed all the front pieces together first before I drew the outline for and cut out the back piece. Otherwise, the backpiece may not have fitted on.


And for the final felt sheep charm:


Felt Sheep Charm


Twin Lollipops

While waiting for feedback for the last batch of House of Odd pencils, I finally got my new website up and running! It took me a while to get things sorted out, and parts of the site is still under construction, but at least my registered domain name finally pointed to the site it was supposed to point. It actually took a bit of wrangling, due to issues over transferring a domain name. At least that’s over… for now.


I celebrate by showing another batch of felt toys I made. This time, it’s a pair of lollipops! I’m not into candy-type felting because I find the results too small and not very delicate, but this was too cute to pass up, and they’re the right size for a key ring or a hanging decoration.


Lollipops - Step 1
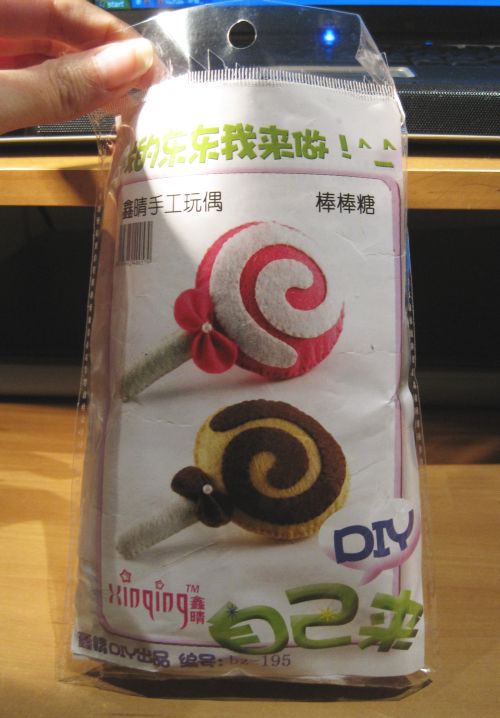
Step 1: I bought this Chinese kit in Chinatown for $3.50.


Lollipops - Step 2
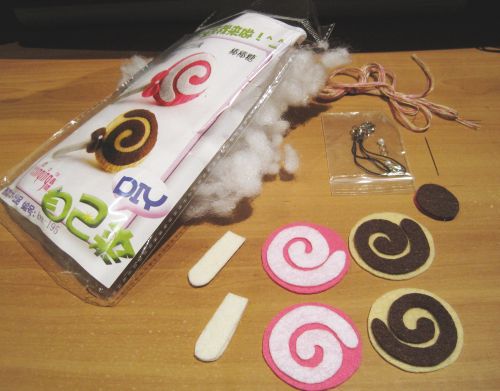
Step 2: None of the pieces you see here are pre-cut – I had to cut the paper drawings out, trace the outlines onto the pieces of felt, then cut them out. Luckily, it was a very simple design, so it was quick and easy. Most Chinese kits are not pre-cut, so I expected the extra work.


Lollipops - Step 3
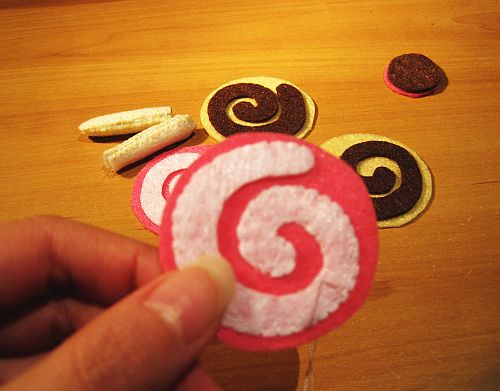
Step 3: Sewing the bits and pieces together. Namely the swirls.


Lollipops - Step 4
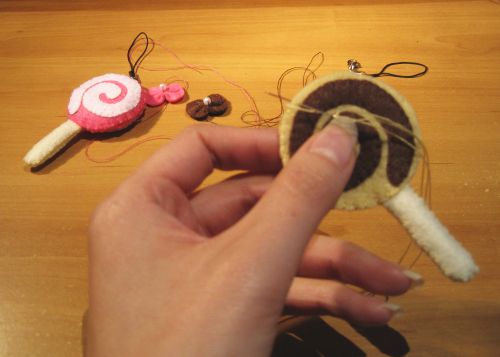
Step 4: Sewing the lollipops together, and stuff them with filling.


Lollipops - Step 5
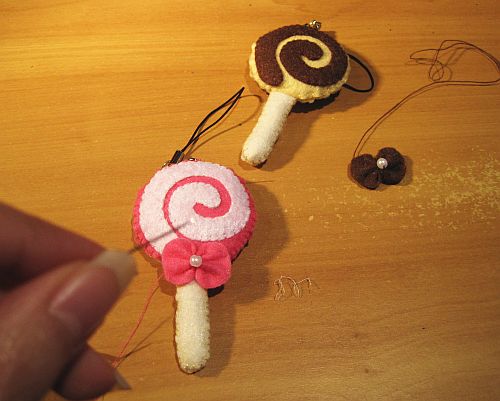
Step 5: Sewing the little bows on. This was the most adorable part.


And voila, the final product:


Twin Lollipops
Twin Lollipops – Strawberry Cream and Caramel Chocolate!