Creamy Green Tea Roll

I should be in New York by now, attending NYCC. I’ll be hanging by the BentoComics table mostly! I’ll be back in Sydney at the end of October!


Green Tea Roll

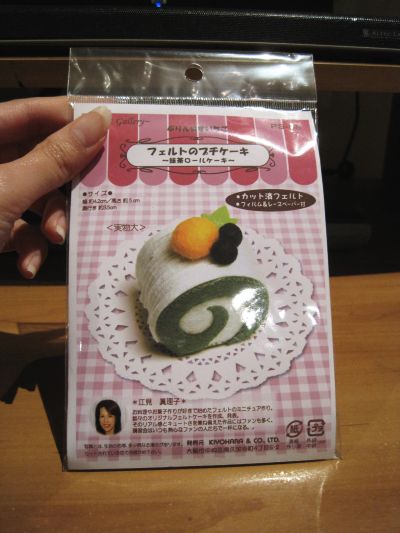
Step 1: The second last of these Japanese kits I bought, this green tea roll cake appear to have an extra slopping of cream on top. Why not?


Green Tea Roll 2

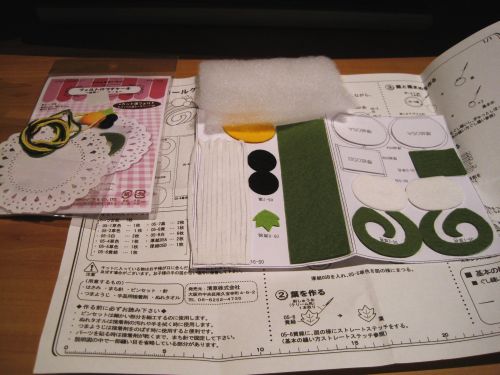
Step 2: Hurray for pre-cut felt! This kit especially, because of the "cream" bits that are long and straight.


Green Tea Roll 3

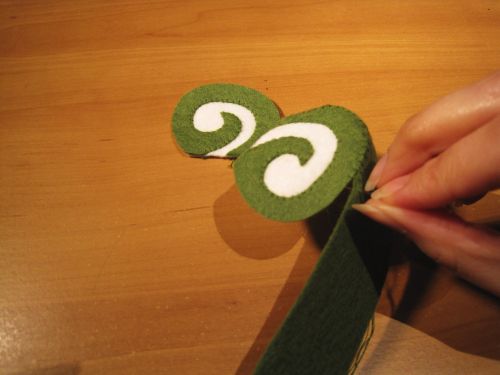
Step 3: Sew the roll cake together. Thank god for the pre-cut pieces - cutting spirals are always a horrible chore.


Green Tea Roll 4

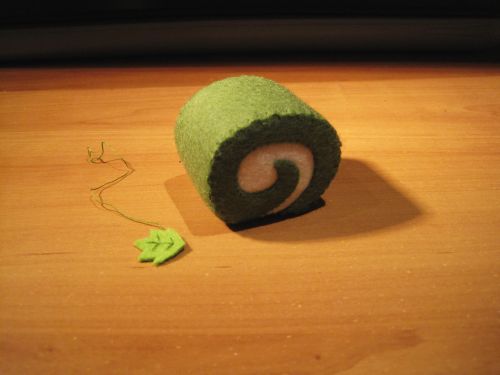
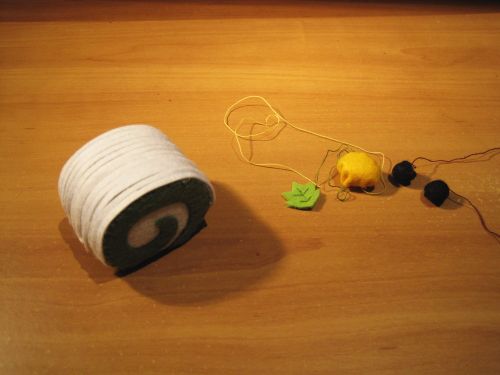
Step 4: Finished with the roll cake. Start with the little bits and pieces that go on top of the roll cake.


Green Tea Roll 5

Step 5: Glue the cream bits on, and what a mess I made of the glue (again). It's not glued on very well, so a few of the cream bits can fall off. Am hoping that by sewing the top bits on, it'll help keep the cream bits on the roll cake.


Quite small, but ends up looking pretty cute:


Creamy Green Tea Roll

Three Russian Dolls

Russian Dolls

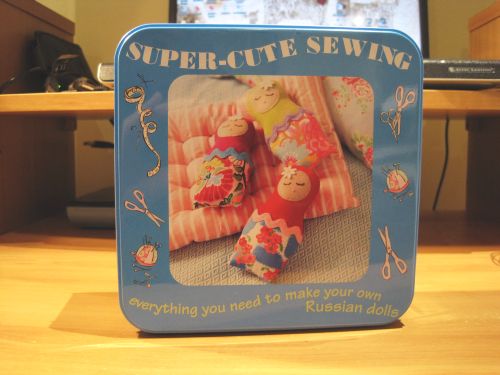
Step 1: For once, this isn't Japanese. It seems to be from a British company, and it even comes with a nice tin box. For the inexplicably cheap price of $14 at Townhall's Kinokuniya. I snapped it up, ofcourse.


Russian Dolls 2

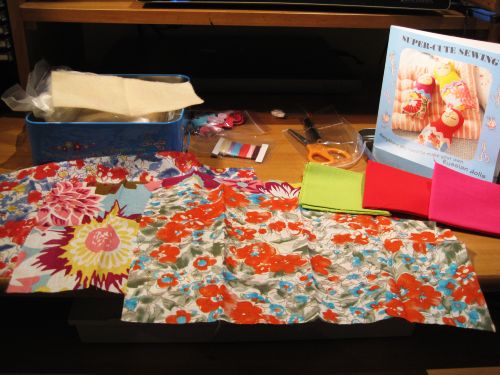
Step 2: Open the contents, and just enough material is there to make three of the dolls. The design of the dolls is quite simple too.


Russian Dolls 3

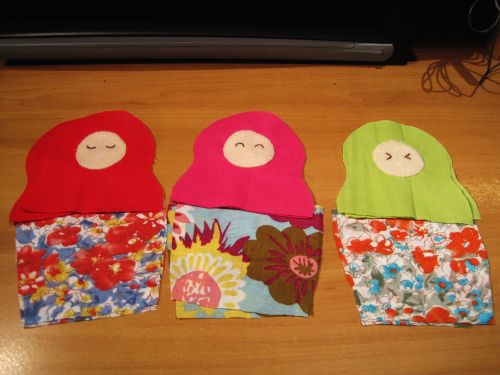
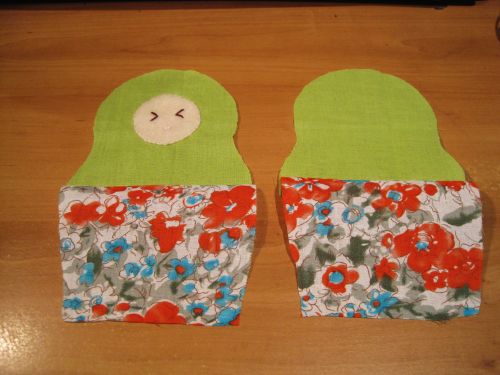
Step 3: Cut out all the materials, and mix and match the hoods with the colourful bottom parts. I decided on this combination.


Russian Dolls 4

Step 4: Sew the faces on, and the top and bottom halves together. It's time to sew both of the front and back parts to make the doll.


Russian Dolls 5

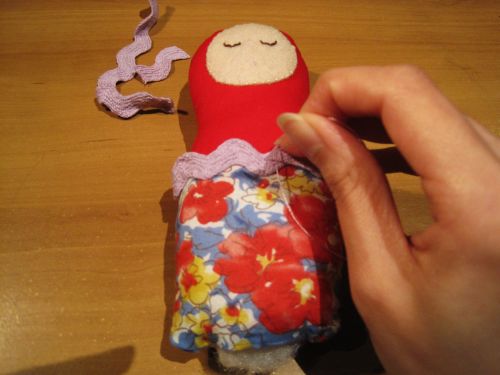
Step 5: Stuff the dolls with stuffing, and then sew the wavy elastic band around them for a finishing touch. I added a few more things to it than was given in the kit.


I decided to gift the dolls to three couples I know, so I embroidered some names on them. Good use of cute dollies! Yay to Claire and Pedro, Ben and Nam, and Kath and Paul:


Russian Dolls

Wooly Strawberry Cake

This week has been a rather quiet week. I’m done celebrating the end of Odd Thomas 3 (House of Odd), so I’m settling down into doing some doodling while the next book is being figured out. Apart from doodling, also crafting, of course. And catching up on some reading and gaming.
 

Strawberry Roll

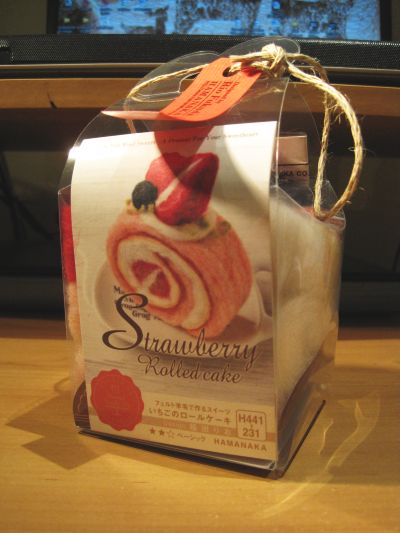
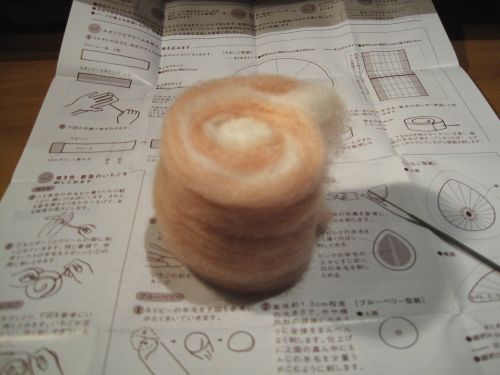
Step 1: I bought this off Rakuten.co.jp again. I belated noticed that this one was listed as "challenging" (ie. the hardest difficulty level). Be prepared for bloodied fingertips!


Strawberry Roll 2

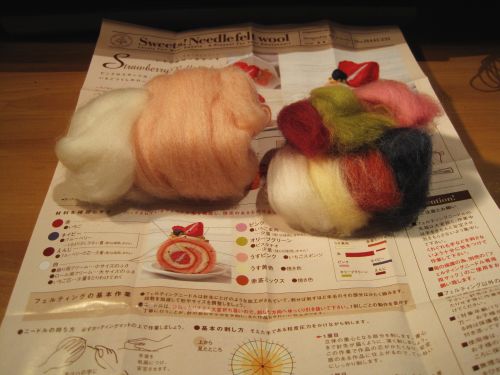
Step 2: Pull everything out of the box, and check that it's there.


Strawberry Roll 3

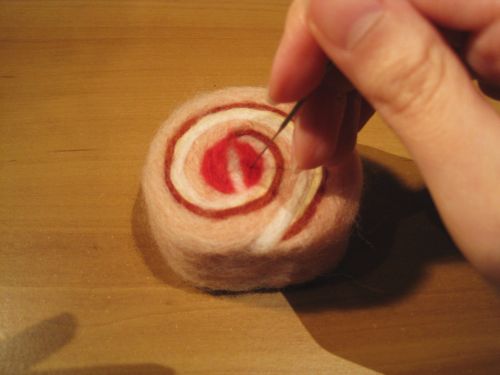
Step 3: Start stabbing the main body of the cake. This one takes the longest, since you're taking a big wad of wool and making it shrink and adhere to a certain shape.


Strawberry Roll 4

Step 4: Finally get the roll cake done. Add some nice strawberry filling and cream to it.


Strawberry Roll 5

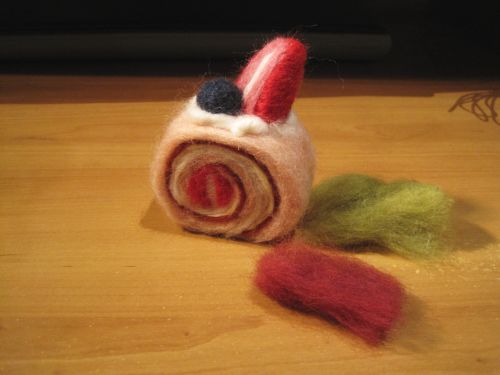
Step 5: Hash out the remaining bits and pieces, including the strawberry and blueberry. The strawberry was a specific shape, so it took ages to do.


Strawberry Roll 6

Step 6: Stick everything on top, and needle it in. Only the small flaky bits left!


The final product! Pretty nice, methinks:


Strawberry Roll

Cat Clock

I’ve finished ALL the inks of “House of Odd”, the third Odd Thomas book, and I have been doing happy jigs all week! The book still needs to be toned by Dee (wonderful toner), so it’s not all finished, but I’m estimating that the whole thing will be done by the end of September. I’ll do a post about it when the time comes for the actual release, which will probably be in April 2012. For now, I shall celebrate!!

In other news, I’m heading off to the Brisbane Writer’s Festival next week, held on the 6th-7th September. I’m mostly going because I’ve never been to a Writer’s Festival before, and it would be fun to see what it would be like. It’s also because Yunyu’s going to be there with writer Marianne De Pierres, to promote their collaboration on Marianne’s book Burn Bright.

So, this week I get to show you my felt clock. My felt Cat Clock, which I made for my niece. Once again, this was made from a kit, but it was simple enough.


catclock1

Step 1: This is a Korean kit I bought at Morning Glory for about $10. I can't read Korean, but luckily the instructions were in pictures and not that difficult to decipher.


catclock2

Step 2: I check that everything's there, which it is.


catclock3

Step 3: I cut out the paper shapes and trace them onto the felt. This kit seems to have skimped on the felt a bit... I've not had a kit where you had to be so careful about where you draw the outlines on the felt. I had almost ZERO felt leftover. Phew.


catclock4

Step 4: Putting it all together, to make sure I cut the felt right. Yep, it seems okay.


catclock5

Step 5: I sew the front of the face on, and puncture a hole so the clock can point through (where I put the hands of the clock on). I also sew on red buttons to represent the time.


catclock6

Step 6: The back of the cat clock, where I put the cardboard box that holds the clock. I stuff it and sew on the back flap.


catclock7

Step 7: I cut a small flap in the back for the battery, so it can be replaced. This wasn't included in the instructions, but it seems like commonsense. How else can you replace the batteries, if it's all sewed up? I also added a button to "tie" it down, so it looks better.


And now, for the final clock, face and all:


Cat Clock