Three Slices o’ Strawberry

I’m close to the end of “House of Odd”, and the tones for part 2 is all done. But before that day arrives, I’ll be showing another one of my little arts-and-crafts, a strawberry cream cake (strawberries appear to be super popular in the world of felt cakes).
 

3strawberry1

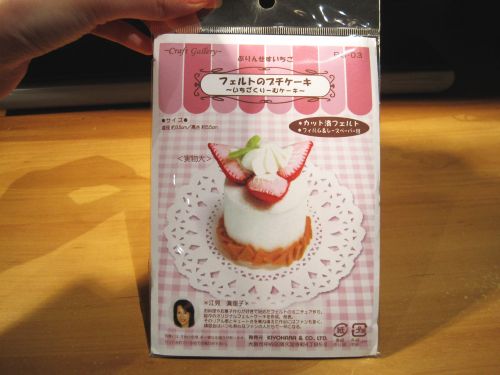
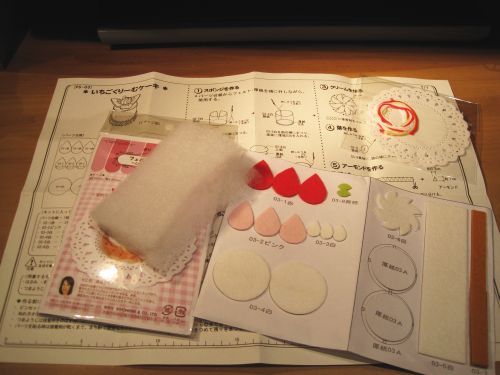
Step 1: Again, bought off Rakuten.co.jp. It's one in a series of similar kits.


3strawberry2

Step 2: Check that everything's there. With Japanese kits, they usually are. Pre-cut pieces too, which saves a lot of time.
 

3strawberry3

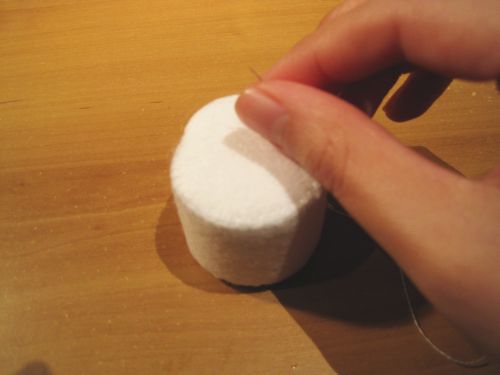
Step 3: Sew the base up, which in this case, is a teeny weeny little cylinder.


3strawberry4

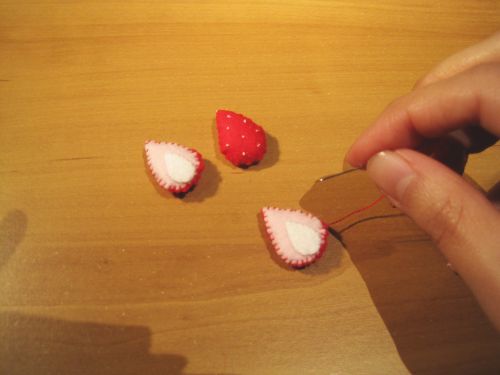
Step 4: Sew up the little half-strawberry pieces. I've done this a lot on many similar projects... strawberries are the most common things I get to sew in relation to felt cakes.
 

3strawberry5

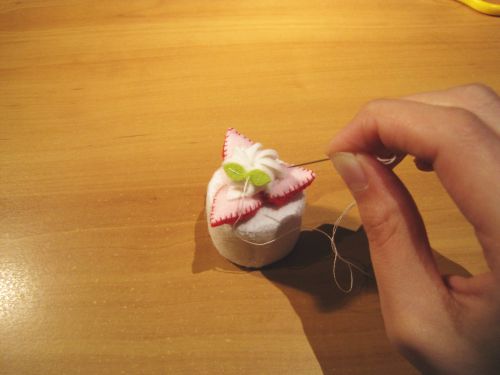
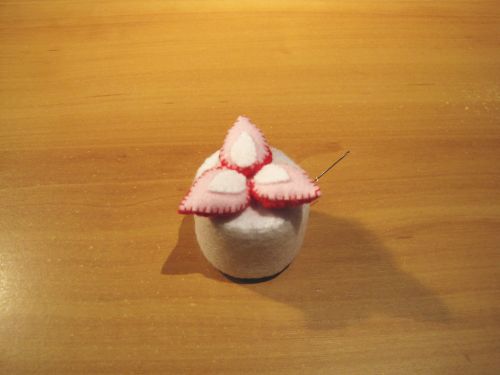
Step 5: Sew the strawberries onto the cylindrical base. Getting them located right is the hard part, but I manage.
 

3strawberry6

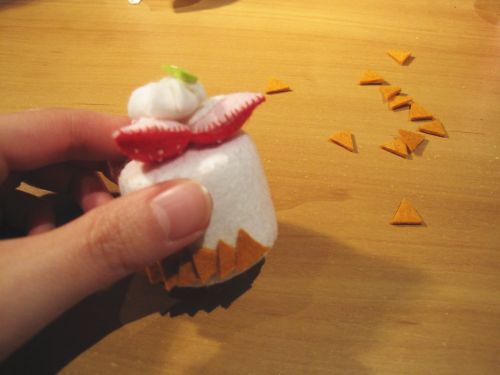
Step 6: Sew the little swab of cream and mint leaves onto the top.


3strawberry7

Step 7: Chop up the last piece of felt, and then glue the little triangular chestnut pieces onto the botton of the cake. Not as messy as I thought it would be.


Now, for the final product – little felt cake with three slices of strawberry:


3-Strawberry

Twin Lollipops

While waiting for feedback for the last batch of House of Odd pencils, I finally got my new website up and running! It took me a while to get things sorted out, and parts of the site is still under construction, but at least my registered domain name finally pointed to the site it was supposed to point. It actually took a bit of wrangling, due to issues over transferring a domain name. At least that’s over… for now.


I celebrate by showing another batch of felt toys I made. This time, it’s a pair of lollipops! I’m not into candy-type felting because I find the results too small and not very delicate, but this was too cute to pass up, and they’re the right size for a key ring or a hanging decoration.


Lollipops - Step 1
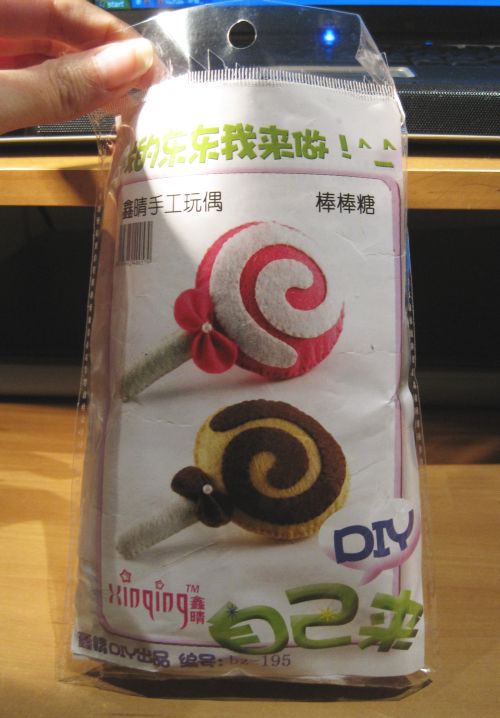
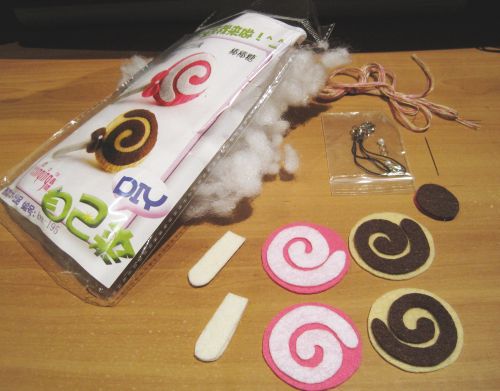
Step 1: I bought this Chinese kit in Chinatown for $3.50.


Lollipops - Step 2
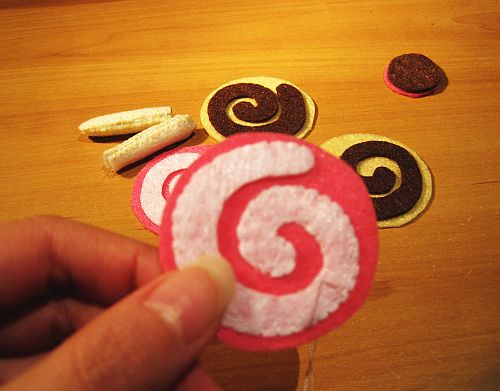
Step 2: None of the pieces you see here are pre-cut – I had to cut the paper drawings out, trace the outlines onto the pieces of felt, then cut them out. Luckily, it was a very simple design, so it was quick and easy. Most Chinese kits are not pre-cut, so I expected the extra work.


Lollipops - Step 3
Step 3: Sewing the bits and pieces together. Namely the swirls.


Lollipops - Step 4
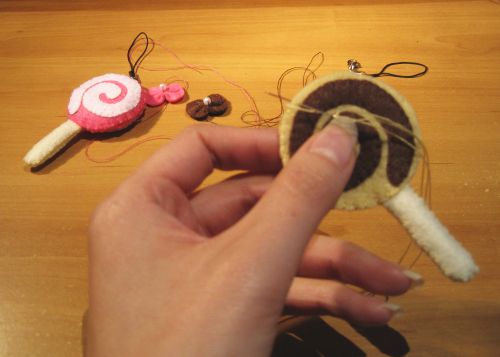
Step 4: Sewing the lollipops together, and stuff them with filling.


Lollipops - Step 5
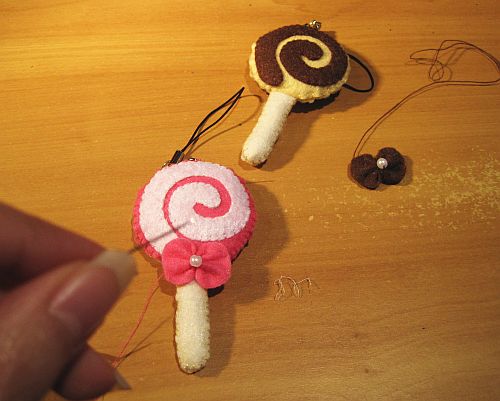
Step 5: Sewing the little bows on. This was the most adorable part.


And voila, the final product:


Twin Lollipops
Twin Lollipops – Strawberry Cream and Caramel Chocolate!


Slice ‘o Orange Cake

It’s the end of June, and the third “Odd Thomas” book with Dean Koontz, titled “House of Odd”, is up to the final stages. I’ve done all the pencils for the whole book, currently around 190 pages, and after the last 50 pages are inked (and toned by fantastic toner Dee DuPuy), it’ll be officially over. The book is due in April 2012, just after the movie, so keep your eyes peeled for it!


On another note, I’ve been doing some more “Knits and Bits” projects on the side. To show folks how my little cakes are put together, I’ve taken a series of step-by-step photos of how I make them from the kits.


Step 1: Slice o' Orange Cake
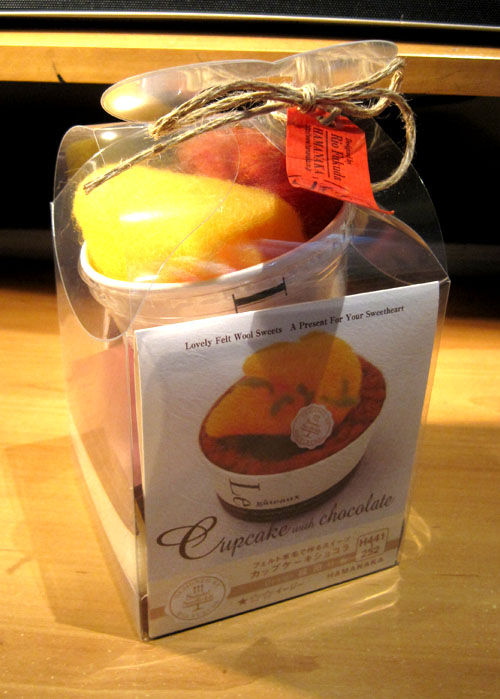
Step 1: The full kit, in its original box. I bought it off an Internet Shopping site, Rakuten.co.jp. It’s kinda like a Japanese eBay of sorts, but with English translations.


Step 2: Slice o' Orange Cake
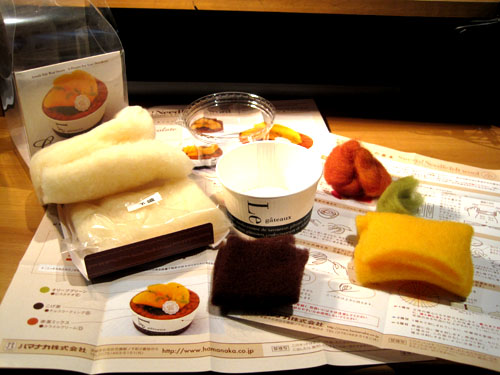
Step 2: Take everything out of the box, and make sure it’s all there. The needle is NOT included in the kit though, and I didn’t know that. Luckily, I had one leftover from a previous project.


Step 3: Slice o' Orange Cake
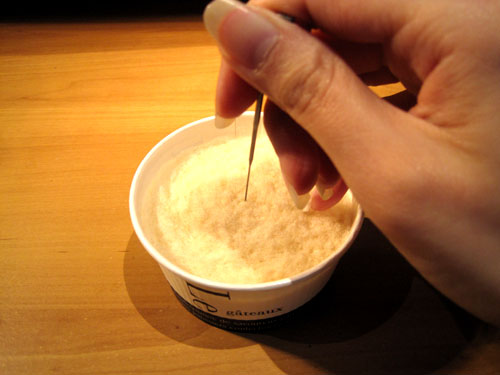
Step 3: Roll up the large white wool, and put it into the cup. The size of the rolled-up wool was huge, and it took a LONG time for it to be made compact enough. Lots of stabbing.


Step 4: Slice o' Orange Cake
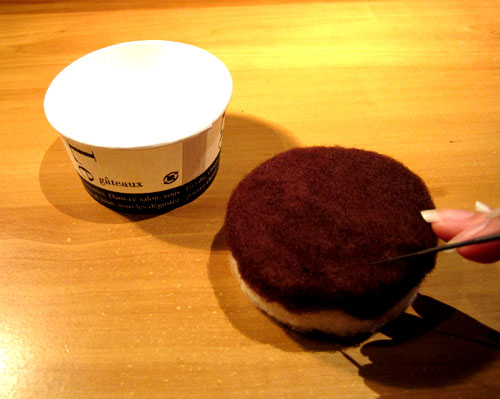
Step 4: Stabbed the thin layer of Chocolate to the top of the Vanilla. Easy, this part.


Step 5: Slice o' Orange Cake
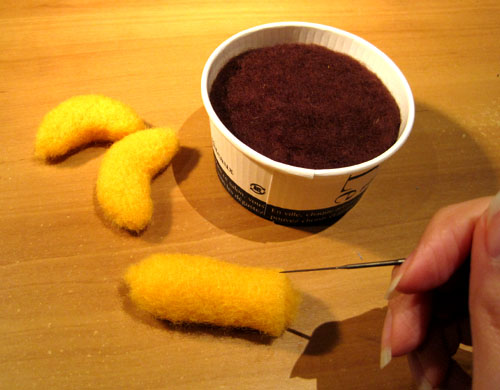
Step 5: Made each of the orange slices. This took AGES and a lot of stabbing all directions, since they have to be shaped in a particular way. My hand got pretty tired.


Step 6: Slice o' Orange Cake
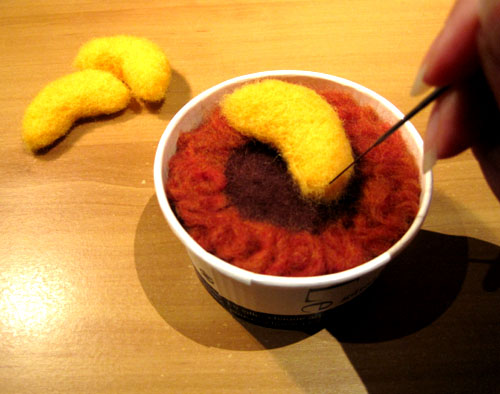
Step 6: I then added the little fluffy brown bits, which was quite difficult as the wool felt was kinda disobedient, and was flying all over the place. I struggled to get it under control, then stabbed it down too much. The brown topping is supposed to look more fluffy than this, but oh well. Started stabbing the oranges on.


Step 7: Slice o' Orange Cake
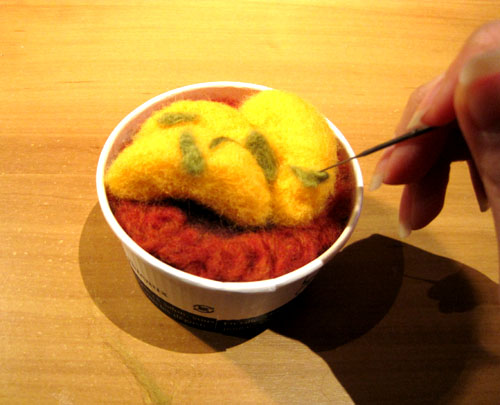
Step 7: Adding the little bits of green. Mint? This is the last step. Afterwards, Viola!


And now for the finished cake, the Slice o’ Orange Cake-in-a-Cup:


Finished Cake
Final Product: This took me 4 hours to make, in-between working on “Odd Thomas 3”, listening to music, watching a Chinese Martial Arts movie on Youtube, and random internet surfing.