I’m going to Melbourne next Sunday to Tuesday, to do a two-day series of workshops at Scotch College! Haven’t been back to Melbourne for over a year!
Internet Explorer Woes: I’ve been looking at my new blog with Internet Explorer (instead of with Firefox, which is what I normally use), and I have noticed that Internet Explorer is crazy in the way it displays my blog. If you have Internet Explorer 9 it seems to be okay, but it you have version 8, it has a weird tendency to center all the text on the page. Worse still, if you have IE version 7 or less, the blog posts I have actually overlap the side bar on the right hand side of the page.
So, I’ve been going through my old posts and manually aligning the paragraphs to the left, which is the only thing I can do to get my Internet Explorer 8 to show the page properly.
If anyone knows how to fix this issue, please let me know. I have heard from other programmers that Internet Explorer is a broken-down piece of software that no one wants to program in, but Google Analytics tell me that 52% of visitors to this site use IE. So if you’re one of those people who’s looking at a messed-up blog, I’m truly sorry. I have no clue why this is so! Not yet anyway.
Wool Felt Toy Poodle: This wool felt toy poodle ended up about 8cm tall, and it was quite difficult to do! It seems I jumped into the deep end of wool felting, without checking the difficulty level of this toy poodle kit. As a result, I’ve shredded and pricked the fingers of my left hand a fair bit while making this. I now have to wear band-aids on my poor non-drawing hand.
For this reason, wool-felting has lost a bit of its glow for me. I’ve never, in my whole life, ever pricked a finger while sewing. But while wool felting, I’ve managed to riddle my left hand full of holes. From now on, I shall only wool felt in moderation… or with an insurance policy.
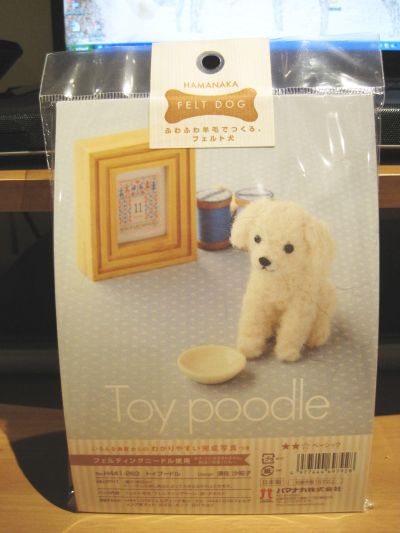
Step 1: Here's the kit. Once again, from Rakuten.co.jp, the Japanese shopping site that wonderfully caters to international folks at a reasonable shipping rate.
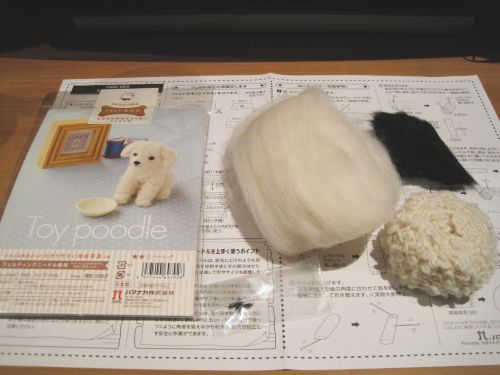
Step 2: Open it all up and have a look. Once again, no wool felting needle included, so I used my old one.

Step 3: Stabbed the body, head and snout into shape. This was hard, and took a long. The shape of the body was truly difficult to shape properly.

Step 4: There was extra fluffy material to stab onto the dog as fur, while the ears, arms and legs, and tail took a while to make. They were small and kind of hard to get compact... and harder to get the fur on too.
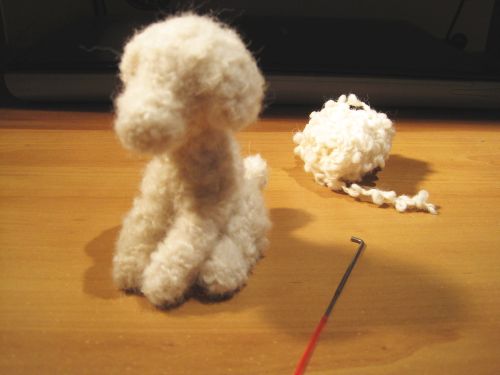
Step 5: Attached all the arms, legs, ears and tail. Added some of that excess fur to "bulk" the dog up a bit more. Only the face left!
Finally, the face. The end product looks a bit odd, because the snout is too big. But at least it looks sorta like the cover of the kit:

