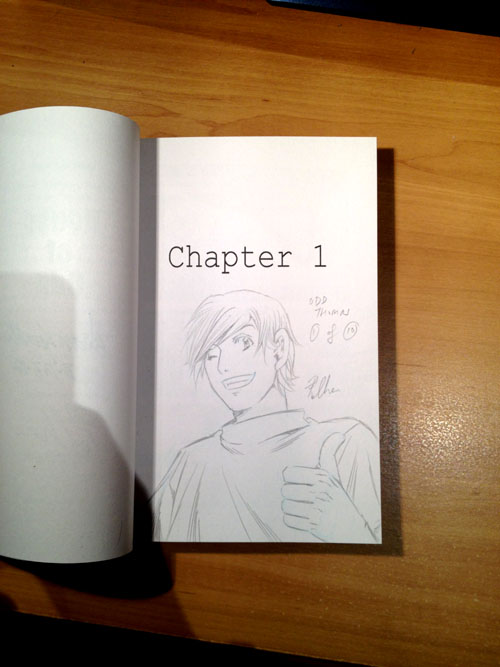
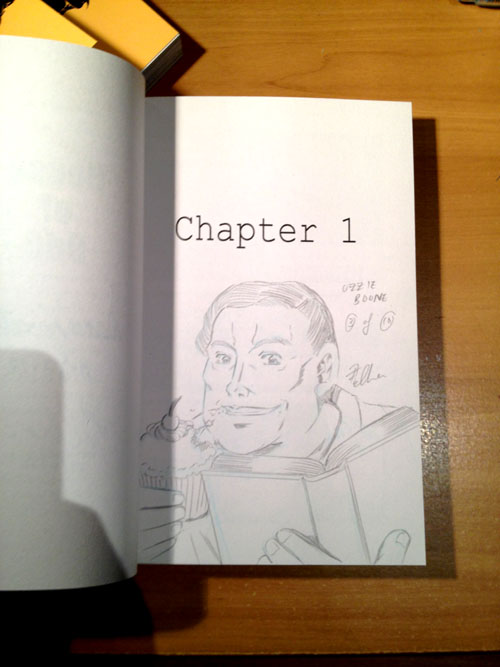
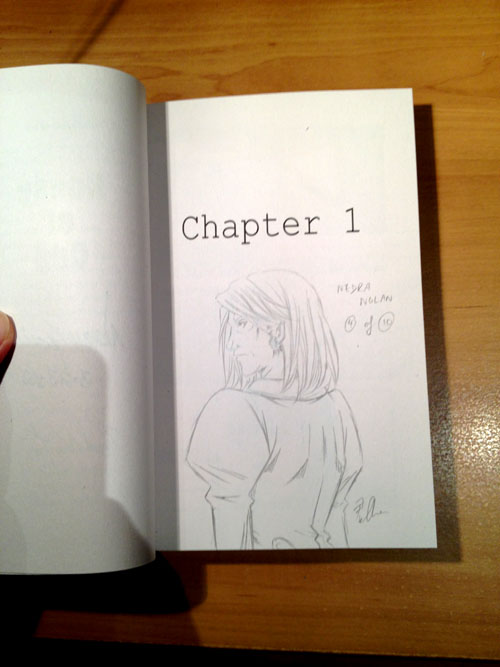
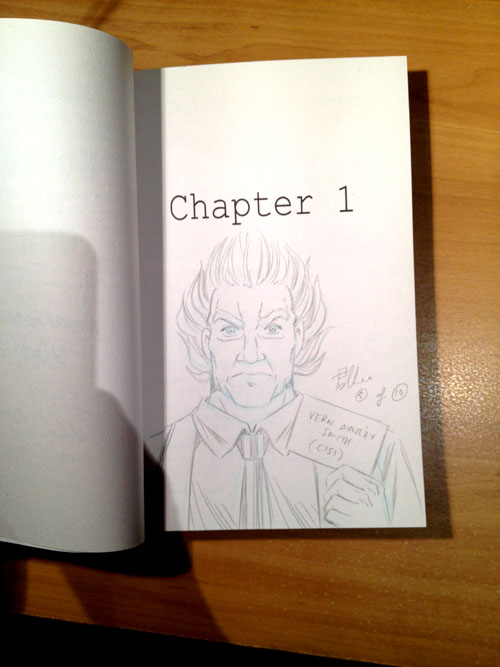
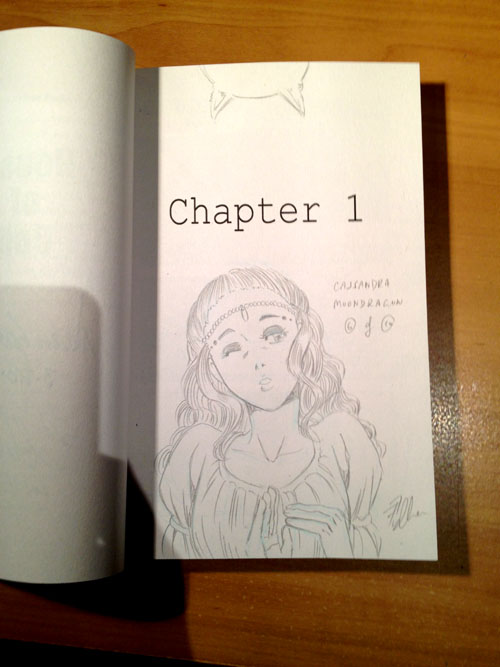
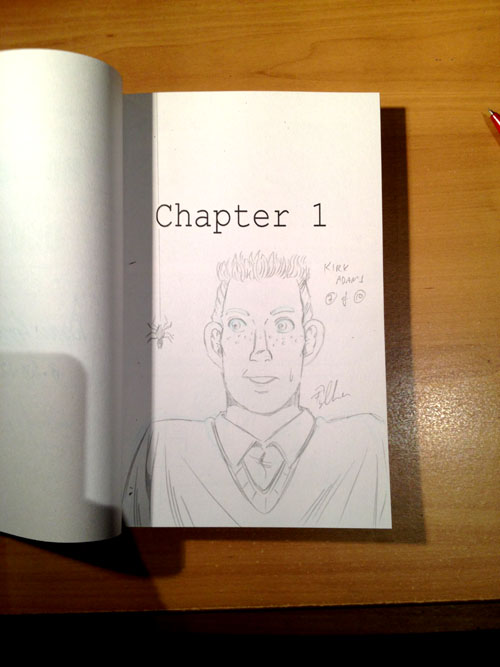
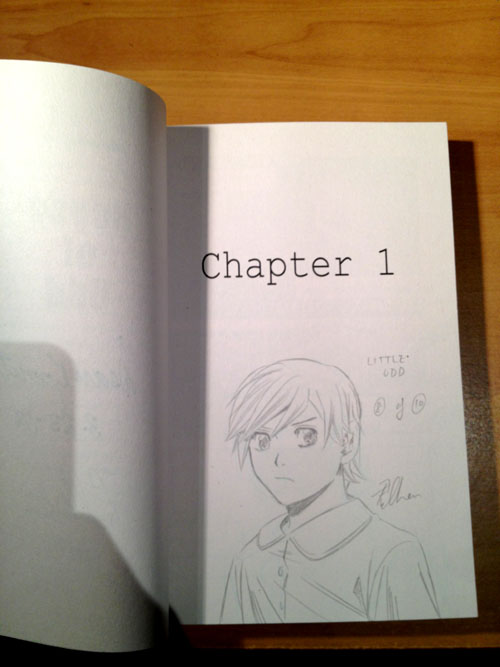
I’m really flying through the pencils for Small Shen… I’m already near the end of Chapter 8. After that, it’s only Chapter 9 and the prologue, which is about 20 pages. After inking and toning, that’ll be the end of July, which is just in time for a Xmas release. WOW!
Then, what’s up next is… this.
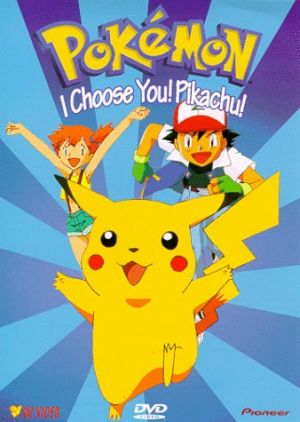
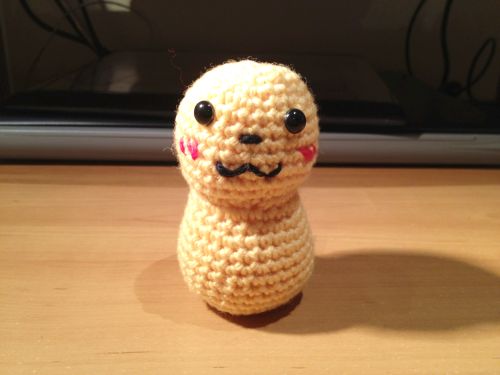
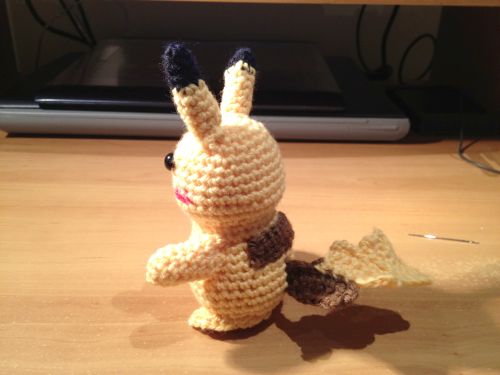
Anyway, this week, I get to do a pokemon crochet… of which many people have asked for. Previously, I thought Pikachu may have been too complicated to do, but it seems not. This wasn’t that much harder than some of the other crochets I’ve done. Either way, here’s Pikachu!!
Pikachu Pattern
Here’s a list of what I used to make this crochet. It’s not a definite list, so feel free to use whatever you have, as long as it’s appropriate. It’s crocheted in the round, like most amigurumi, so only basic crochet skills are required.
NB. This pattern is created by me, so please give a link back to me if you want to use it or if you want to sell your crochet. Please give credit where it’s due. I should also that I don’t own the copyright to these characters – obviously Studio Ghibli does.
- Yellow, black, red and brown 8 ply yarn
- 4mm crochet hook
- Two pairs of 8mm black safety eyes – 6060 from Etsy is a good place to buy these
- Large sewing needle, to sew the bits and pieces together
Crochet Abbreviations
Here are a list of the abbreviations I use, and what they mean. These are pretty standard, so if you know how to crochet, this won’t be hard to decipher:
- ch – chain
- sc – single chain
- dec – decrease
- * – beginning/end of a repeating part of the pattern
Pikachu Body (Make 1, yellow)
Rnd 1 – Ch 2, 6 sc in 2nd chain away from hook (Magic Ring method)
Rnd 2 – *2 sc in next stitch*, repeat 6 times (12 stitches)
Rnd 3 – *2 sc in next stitch, sc 1*, repeat 6 times (18 stitches)
Rnd 4 – *2 sc in next stitch, sc 2*, repeat 6 times (24 stitches)
Rnd 5 – *2 sc in next stitch, sc 3*, repeat 3 times (30 stitches)
Rnd 6 – 8 – sc (30 stitches)
Rnd 9 – *2 sc in next stitch, sc 4*, repeat 3 times (36 stitches)
Rnd 10 – sc (36 stitches)
Rnd 11 – *dec 1 in back loops ONLY*, repeat 18 times (18 stitches)
Rnd 12 – *2 sc in next stitch, sc 2*, repeat 6 times (24 stitches)
Rnd 13 – sc (24 stiches)
Rnd 14 – *2 sc in next stitch, sc 3*, repeat 3 times (30 stitches)
Rnd 15-22 – sc (30 stitches)
Stuff the body now, and add 8mm safety eyes
Rnd 23 – *dec 1 in back loops ONLY*, repeat 15 times (15 stitches)
Rnd 24 – *dec 1*, repeat 8 times (8 stitches)
Bind off, and then sew the facial features onto Pikachu with black and red wool.
Pikachu Feet (Make 2, yellow)
Rnd 1 – Ch 2, 6 sc in 2nd chain away from hook (Magic Ring method)
Rnd 2 – *2 sc in next stitch*, repeat 6 times (12 stitches)
Rnd 3 – *2 sc in next stitch, sc 1*, repeat 6 times (18 stitches)
Rnd 4 – *2 sc in next stitch, sc 2*, repeat 6 times (24 stitches)
Fold each foot in half, and sew them together to make a semi-circle. Sew onto the bottom of the body to make the feet.
Pikachu Ears (Make 2, yellow, black)
Using black
Rnd 1 – Ch 2, 4 sc in 2nd chain away from hook (Magic Ring method)
Rnd 2 – *2 sc in next stitch, sc 1*, repeat 2 times (6 stitches)
Rnd 3 – *2 sc in next stitch, sc 1*, repeat 2 times (8 stitches)
Change to yellow
Rnd 4 – 10 – sc (8 stitches)
Bind off, stuff lightly, then sew onto the top of Pikachu’s head to make the ears.
Pikachu Hands (Make 2, yellow)
Rnd 1 – Ch 2, 6 sc in 2nd chain away from hook (Magic Ring method)
Rnd 2 – *2 sc in next stitch, sc 1*, repeat 3 times (9 stitches)
Rnd 3-7 – sc (9 stitches)
Bind off, stuff lightly, then sew onto the sides of Pikachu to make the arms.
Brown Strip on Back (Make 1, brown)
Rnd 1 – Ch 8 (8 stitches)
Rnd 2 – sc (8 stitches)
Bind off, then sew onto the back of Pikachu.
Pikachu Tail (Make 1, yellow, brown)
Rnd 1 – Ch 9 (8 stitches)
Rnd 2-4 – sc 8, then sc an additional 4 chains off the end of Rnd 4 (8 stitches)
Rnd 5 – sc 8 stitches (8 stitches)
Rnd 6-8 8 sc, then switch to brown. Then sc an additional 4 chains off the end of the last row (8 stitches)
Rnd 9 – sc 8 stitches (8 stitches)
Rnd 10-12 – sc
Bind off, then sew onto the bottom back of Pikachu to make the tail.
And Viola! You have a Pikachu to fit into the palm of your hand!

